
Today, I tackled something I’ve been meaning to do for ages – making sticky dates. I’ve always loved them, especially those big, juicy Medjool ones. They’re like nature’s candy, you know? So, I finally decided, “Let’s give this a shot!”
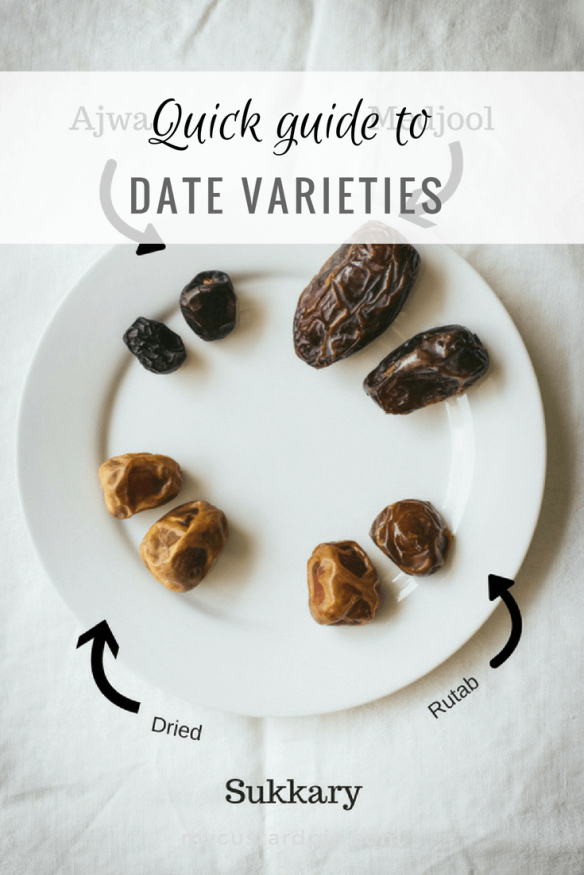
First off, I gathered my ingredients. Now, I learned that there are different kinds of dates. The ones with pits are usually softer and less dried out, while the pitted ones can be a bit tougher. And then there are these Medjool dates – they’re the kings, seriously. Bigger, softer, and packed with flavor. Plus, they’re a healthier way to satisfy a sweet tooth, and they’re awesome for making energy balls. Full of good stuff.
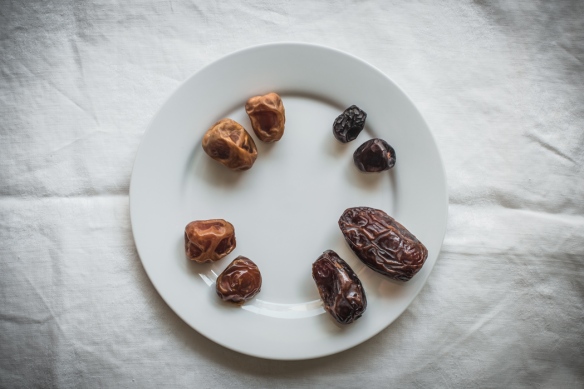
I went with Medjool dates for this little experiment. They have this deep brown, almost black color, and they’re way softer and stickier than those Deglet Noor ones. Another thing about Medjool dates is that their skin tends to separate a bit because of the sugar, but that’s no big deal. It doesn’t happen with Deglet Noor.
So, I started by pitting the dates. It was a bit of a messy job, but kinda satisfying, I have to admit. Pulling out those pits, getting my fingers all sticky – it felt like I was really getting into the process. These dates, by the way, come from palm trees. They’re called date palms, and they’re dioecious – a word I just learned, which means they have separate male and female trees. Pretty cool, right?
After pitting, I chopped them up roughly. I figured smaller pieces would make them easier to work with later. Then came the fun part – I put them in a pot with some water and started heating it up. The smell that started filling my kitchen was amazing. Sweet, rich, and just a little bit caramel-like. Medjool dates are known for that caramel taste, which is probably why they’re so popular.
- Gathering the dates: I picked out the Medjool dates. They looked so plump and inviting.
- Pitting: Got my hands dirty and pitted each one. It was a bit of work, but worth it.
- Chopping: I chopped them up into smaller bits.
- Cooking: Into the pot they went, with water, over heat.
- Waiting: I waited as they softened up, the water reducing, and the mixture thickening.
I kept stirring occasionally, making sure they didn’t stick to the bottom. Slowly but surely, they started to break down and form this thick, gooey paste. It was exactly what I was hoping for. I let it simmer for a bit longer, just to make sure it was nice and thick, then turned off the heat.
The final step was letting it cool down. Once it was cool enough to handle, I transferred it to a jar. It looked so good – a rich, dark, sticky paste, just like the ones I love from the store. I couldn’t resist and had a little taste. Oh boy, it was delicious! Sweet, but not overly so, with that deep, complex flavor that only dates have.
My takeaway from this?
Making sticky dates is totally worth the effort. It’s not even that hard, and the result is so much better than anything you can buy. Plus, you know exactly what’s in it – just dates and water. No weird additives or anything. I’m already thinking about all the things I can use this for. Maybe some energy bars, or as a sweetener in baking. The possibilities are endless!
So yeah, that was my little kitchen adventure today. I made sticky dates from scratch, learned a thing or two about different types of dates, and ended up with something delicious and homemade. If you’re a fan of dates, you should definitely try this out. Trust me, you won’t regret it!


")


")
")


")


